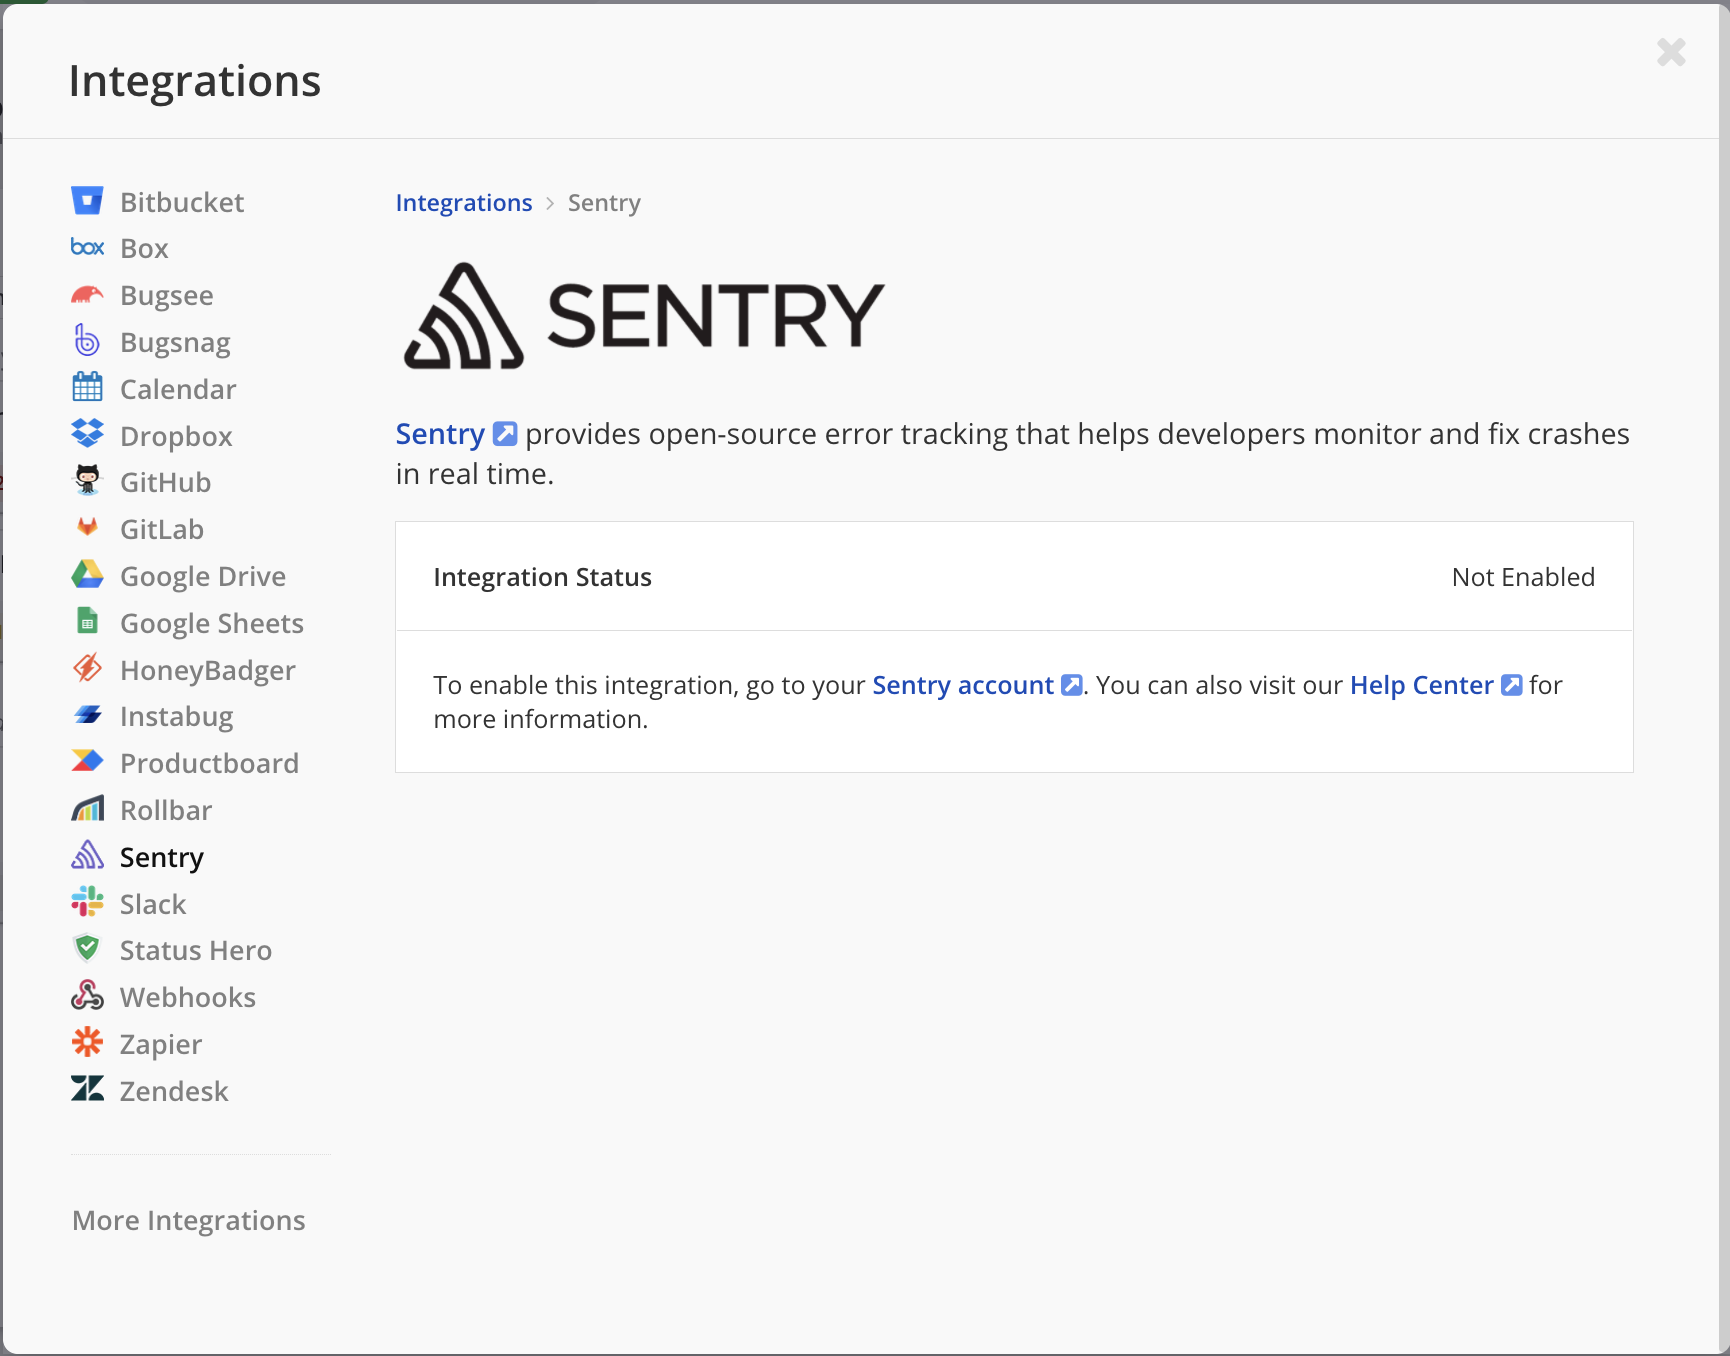
Sentry is an open-source error tracking tool that helps developers monitor and fix crashes in real time. With this integration, you can create new Shortcut Stories for bugs and crashes found by Sentry, link Sentry Issues to existing Shortcut Stories, and automatically complete Sentry issues when a linked Shortcut Story is moved to a Done state.
Before you can set up the Sentry integration, you'll need to have a Sentry account. To create one, go to their website and follow the steps here.
Once your Sentry account is ready:
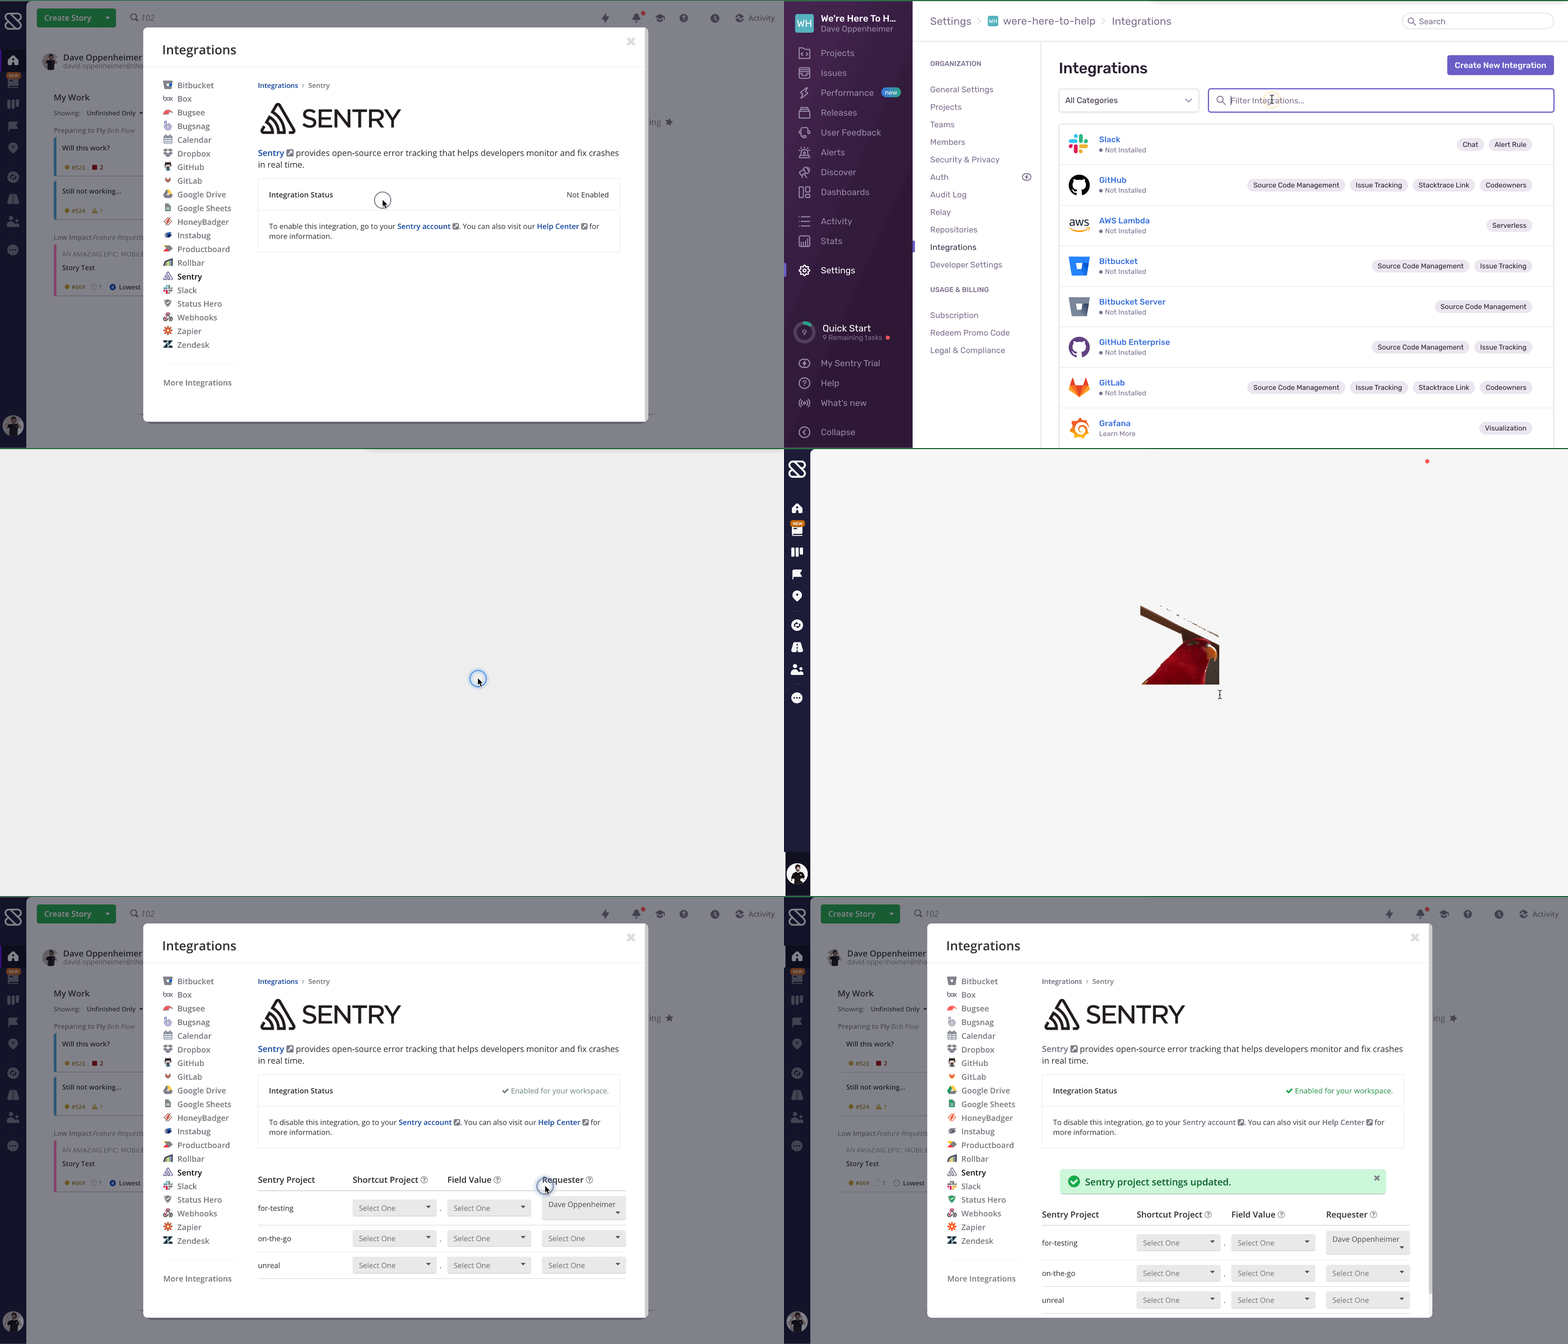
1. Go to Settings > Integrations > Sentry to enable the Sentry integration in Shortcut. Click on the Sentry account link to be taken directly to your Sentry account.

2. In Sentry, click on Settings and then click on Integrations. Search for or find the Shortcut integration (look for the blue Shortcut logo) and click on Install.
3. You'll be asked to grant access permissions twice: the first screen grants Shortcut permission to access your Sentry Projects, and the second screen grants Sentry permission to access your Shortcut Workspace.
4. If you're comfortable with these permissions, click on Install and Authorize, respectively.
Optional: After you've granted permission, you'll be taken back to the Sentry integration settings menu in Shortcut, where you can assign a default Shortcut Project, a default Shortcut Field, and Requester to each of your Sentry Projects.

Sentry partnered with us in building this integration, and you can find their documentation here.
Updated